How to Create a Multi-Select Dropdown in Google Sheets with Apps Script and HTML

Introduction

A multi-select dropdown is a valuable tool that allows users to efficiently choose multiple options from a list. In this tutorial, we’ll explore how to create a custom multi-select dropdown in Google Sheets using Apps Script and HTML. By the end of this guide, you’ll have a functional multi-select dropdown that you can use to capture multiple selections within your Google Sheets.

Prerequisites

  • Basic familiarity with Google Sheets and its Script Editor.
  • A Google account to create a new Google Sheets project.

Setting Up the Development Environment

  • Open Google Sheets and create a new spreadsheet where we’ll build our multi-select dropdown.

  • Navigate to “Extensions” in the top menu, then click on “Apps Script” to open the Script Editor.

  • In the Script Editor, create a new project by clicking on “File” > “New” > “Script file.” Name the new script file as “Code.gs.”

  • Create one more script file:  “dialog.html.” You can do this by clicking on “File” > “New” > “HTML file”.

Understanding the Code

  • Let’s briefly go through the purpose of each code file:

    1. Code.gs: This file contains the Apps Script code that manages the dialog popup, stores selected options, and retrieves checkbox options.

    2. dialog.html: This file contains the HTML and JavaScript code that creates the visual interface for the multi-select dropdown.

Building the Multi-Select Dropdown Interface

In the “dialog.html” file, we create a simple HTML form that dynamically generates checkboxes based on the options we provide. We’ve used Bootstrap to enhance the appearance of the dropdown, but you can customize the styling according to your preference.

<!DOCTYPE html>
<html>
<head>
  <base target=“_top”>
  <link rel=“stylesheet” href=“https://stackpath.bootstrapcdn.com/bootstrap/4.5.2/css/bootstrap.min.css”>
  <style>
    /* Custom CSS style for the container */
    .dialog-content {
      margin: 0 auto; /* Center the container */
      max-width: 600px; /* Set a maximum width for the container */
      padding: 20px;
    }

    /* Custom CSS style for the “Submit” button */
    .fixed-bottom {
      position: fixed;
      bottom: 20px; /* Adjust the distance from the bottom */
      right: 20px; /* Adjust the distance from the right */
      padding: 5px 10px; /* Adjust the button padding */
      font-size: 14px; /* Adjust the font size of the button */
    }

    /* Add scrolling for the container */
    .container {
      max-height: 600px; /* Adjust the maximum height for the container */
      overflow-y: auto;
    }
  </style>
</head>
<body>
  <div class=“dialog-content”>
    <div class=“container”>
      <form id=“checkboxForm”>
        <!– Checkbox options will be dynamically added here –>
      </form>
    </div>
  </div>

  <button type=“button” class=“btn btn-primary fixed-bottom” onclick=“submitForm()”>submit</button>

  <script>
    document.addEventListener(“DOMContentLoaded”, function() {
      // Load the checkbox options from the sheet when the page loads
      google.script.run.withSuccessHandler(updateCheckboxOptions).getCheckboxOptions();
    });

    function updateCheckboxOptions(checkboxOptions) {
      var form = document.getElementById(‘checkboxForm’);
      for (var i = 0; i < checkboxOptions.length; i++) {
        var checkbox = document.createElement(‘input’);
        checkbox.type = ‘checkbox’;
        checkbox.name = ‘option’;
        checkbox.value = checkboxOptions[i];
        checkbox.className = ‘form-check-input’;
        checkbox.id = ‘option’ + (i + 1);
       
        var label = document.createElement(‘label’);
        label.className = ‘form-check-label’;
        label.htmlFor = checkbox.id;
        label.appendChild(document.createTextNode(checkboxOptions[i]));

        form.appendChild(checkbox);
        form.appendChild(label);
        form.appendChild(document.createElement(‘br’));
      }
    }

    function submitForm() {
      var form = document.getElementById(‘checkboxForm’);
      var selectedOptions = [];
      for (var i = 0; i < form.option.length; i++) {
        if (form.option[i].checked) {
          selectedOptions.push(form.option[i].value);
        }
      }
      google.script.run.withSuccessHandler(closeDialog).storeSelectedOptions(selectedOptions, form.option.length);
    }
   
    function closeDialog() {
      google.script.host.close();
    }
  </script>
</body>
</html>

Dynamically Generating Checkbox Options

In the “Code.gs” file, we define the getCheckboxOptions() function, which returns the options for the multi-select dropdown as an array. This array is then passed to the HTML file, where the checkboxes are dynamically generated using JavaScript.

function getCheckboxOptions() {
  var options = [‘Option 1’, ‘Option 2’, ‘Option 3’, ‘Option 4’, ‘Option 5’, ‘Option 5’];
  return options;
}

Submitting and Storing Selected Options

In the “Code.gs” file, we define the submitForm() function, which is triggered when the user clicks the “Submit” button in the HTML dialog. This function collects the selected checkbox values and stores them in the active cell of the Google Sheets.

function submitForm() {
  var form = document.forms[0];
  var selectedOptions = [];
  for (var i = 0; i < form.option.length; i++) {
    if (form.option[i].checked) {
      selectedOptions.push(form.option[i].value);
    }
  }
  google.script.run.storeSelectedOptions(selectedOptions);
  google.script.host.close();
}

Entire script in Code.gs module

In the “Code.gs” file, we define the submitForm() function, which is triggered when the user clicks the “Submit” button in the HTML dialog. This function collects the selected checkbox values and stores them in the active cell of the Google Sheets.

function showDialog() {
    var html = HtmlService.createHtmlOutputFromFile(‘dialog’)
      .setWidth(150)
      .setHeight(300);
    SpreadsheetApp.getUi() // Or DocumentApp or SlidesApp or FormApp.
      .showModalDialog(html, ‘Select item(s)’);
}

function submitForm() {
  var form = document.forms[0];
  var selectedOptions = [];
  for (var i = 0; i < form.option.length; i++) {
    if (form.option[i].checked) {
      selectedOptions.push(form.option[i].value);
    }
  }
  google.script.run.storeSelectedOptions(selectedOptions);
  google.script.host.close();
}

function getSelectedValues(value) {
  if (value === “”) return [];
  return value.split(“, “);
}

function storeSelectedOptions(selectedOptions, totalItems) {
  var activeCell = SpreadsheetApp.getActiveRange();
  activeCell.setValue(selectedOptions.join(‘, ‘));  
}

function getCheckboxOptions() {
  var options = [‘Option 1’, ‘Option 2’, ‘Option 3’, ‘Option 4’, ‘Option 5’, ‘Option 5’];
  return options;
}

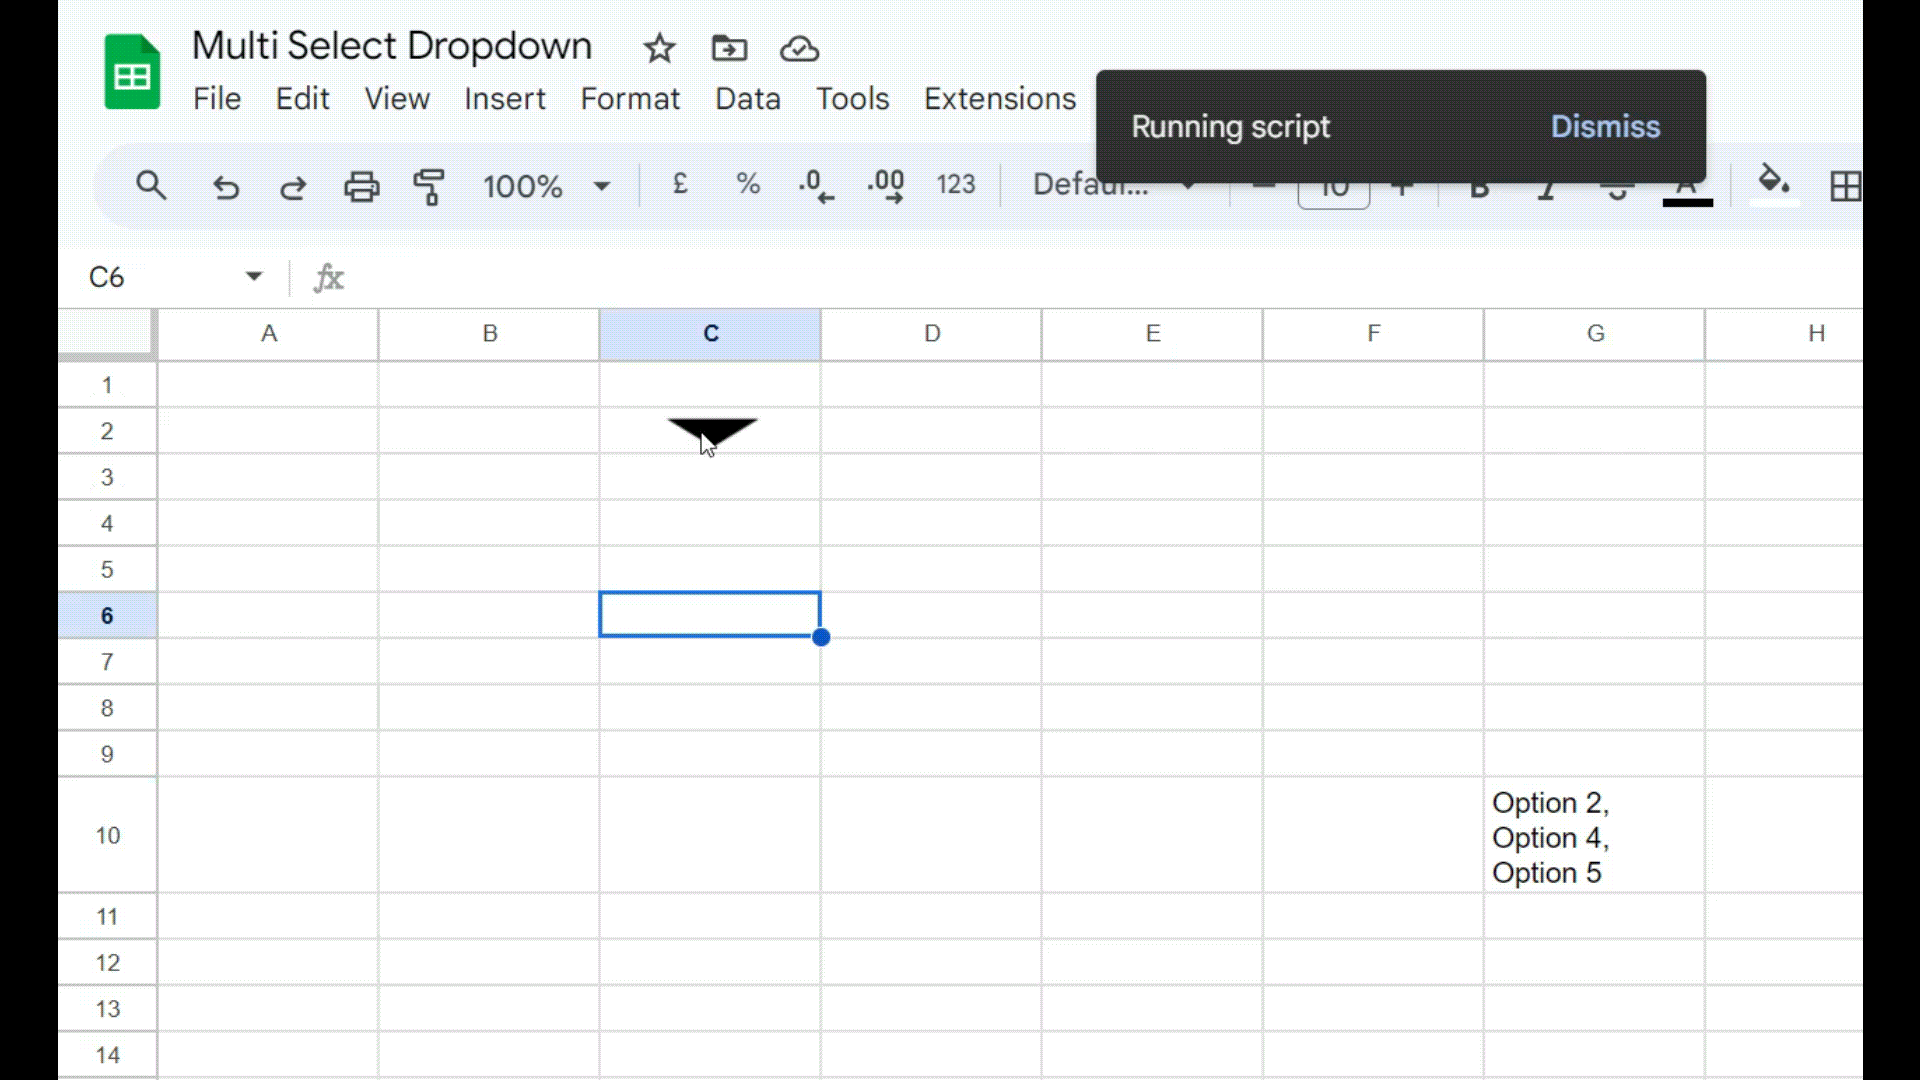
Triggering the Multi-Select Dropdown

To use the multi-select dropdown, add a button on the sheet and assign ‘showDialog‘ function to the button.

click the button to open the dialog containing the multi-select dropdown, and you can select multiple options. Click here to get the copy of the sheet with source code.

Scroll to Top